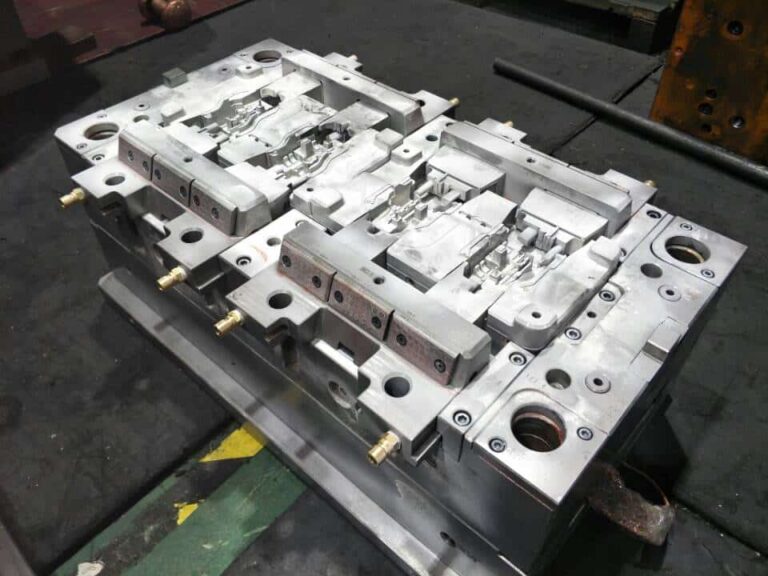
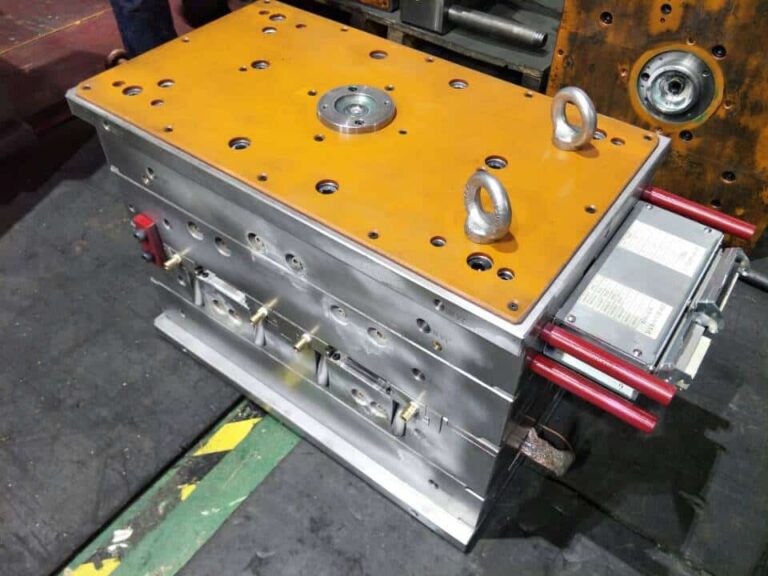
How to set injection molding parameters?
1.Pre-confirmation and preparatory setting
(1) Check whether the material drying, mold temperature and heating cylinder temperature are set correctly and reach the processable state.
(2) Check the action and distance settings for opening and closing the mold and ejecting.
(3) The injection pressure (P1) is set at 60% of the maximum value.
(4) Hold pressure (PH) is set at 30% of the maximum value.
(5) Injection speed (V1) is set at 40% of the maximum value.
(6) Screw speed (VS) is set at approximately 60 RPM.
(7) Back pressure (PB) is set at approximately 10kg/cm2.
(8) Loose retraction is set at approximately 3mm.
(9) The holding pressure switching position is set at 30% of the screw diameter. For example, for a φ100mm screw, set 30mm.
(10) The metering stroke is set slightly shorter than the calculated value.
(11) The total injection time is slightly shorter and the cooling time is slightly longer setting.
2. Manual operation parameter correction
(1) Lock the mold (confirm the rise of high pressure) and advance the injection seat.
(2) Inject manually until the screw stops completely, and note the stop position.
(3) Screw rotates back into the material.
(4) Allow to cool and then open the mold to remove the molded product.
(5) Repeat steps (1) to (4), the screw finally stops at 10% to 20% of the screw diameter, and the molded product is not short shot, burrs and whitening, or cracking.
3.Correction of semi-automatic operation parameters
(1) Correction of metering stroke [metering end point] Increase the injection pressure to 99% and set the holding pressure to 0 temporarily, and adjust the metering end point S0 forward to the occurrence of short shot, and then backward to the occurrence of burr, with its middle point as the selected position.
(2) Correction of the output speed returns PH to the original level, and adjusts the output speed up and down to find out the individual speed at which short shot and burr occur, and uses its midpoint as the appropriate speed.
(3) The holding pressure is adjusted up and down to find out the individual pressure where surface depressions and burrs occur, and the holding pressure is selected at its midpoint.
(4) Correction of holding time [or injection time], gradually extend the holding time until the weight of the molded product is obviously stable.
(5) The correction of cooling time gradually decreases the cooling time and confirms that the following conditions can be satisfied.
1、The molded products will not be whitened, cracked or deformed by ejecting, clamping, trimming and packing.
2、The mold temperature can be balanced and stable.
Simple algorithm of cooling time for products with flesh thickness above 4mm.
①Theoretical cooling time = S (1+2S) ……. Mold temperature below 60 degrees.
②Theoretical cooling time=1.3S(1+2S)……. Mold above 60 degrees [S indicates the maximum flesh thickness of molded products].
(6) Correction of plasticizing parameters
① Confirm whether the back pressure needs to be adjusted.
②Adjust the screw speed so that the metering time is slightly shorter than the cooling time.
③Confirm whether the metering time is stable, and try to adjust the gradient of heating ring temperature.
④Confirm whether there is any dripping material from the nozzle, whether pig tail or sticky mold occurs in the main stream, and whether there are air marks in the finished product, and adjust the temperature of the nozzle part or the loosening and retreating distance appropriately.
(7) paragraph pressure-holding and multi-stage injection rate of live
①In general, without affecting the appearance, injection should be done at high speed, but at a lower speed before switching between gates and holding pressure.
②The holding pressure should be gradually decreased to avoid the residual stress in the molded products being too high and making the molded products easily deformed.

